Welcome to Ledger.com/Start — the official setup portal for your Ledger hardware wallet. This guide walks you through everything from unboxing and device initialization to installing the Ledger Live app and safeguarding your recovery phrase. Whether you’re new to crypto or an experienced holder, following the official setup steps ensures maximum security and a smooth start to your self-custody journey.
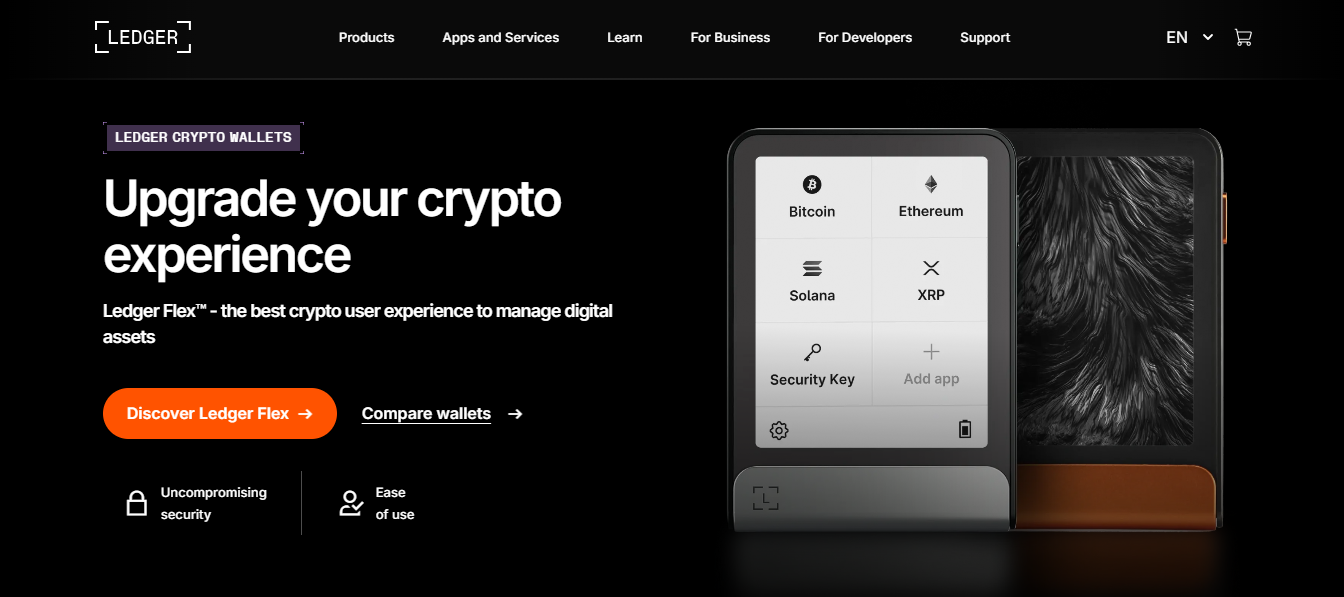
Ledger hardware wallets — including the Ledger Nano X, Ledger Nano S Plus, and Ledger Stax — are designed to keep your cryptocurrencies safe by storing your private keys offline. When paired with the Ledger Live app, they provide a secure bridge to the blockchain, allowing you to manage, buy, and swap crypto assets confidently.
Before getting started, always verify that your Ledger device packaging is sealed and untampered. Ledger devices come with authenticity seals and unique hardware verification processes that confirm they are genuine products.
To set up your device properly, open your browser and navigate to Ledger.com/Start. This page provides official software downloads, firmware updates, and video tutorials that guide you through the process step by step. Avoid using third-party websites or unofficial download links, as they may compromise your device’s integrity.
Ledger Live is the companion app that allows you to manage your crypto assets. It’s available for Windows, macOS, Linux, Android, and iOS. After downloading, install the application and follow the on-screen instructions to begin setup.
Once Ledger Live is installed, connect your Ledger hardware wallet via USB or Bluetooth. You’ll be prompted to set a secure PIN on the device. This PIN protects your wallet from unauthorized access. Then, your device will generate a unique 24-word recovery phrase — your master backup key.
Write down this recovery phrase on the provided sheet and store it in a safe, offline location. Never take photos or store it digitally. Anyone with access to this phrase can control your crypto assets.
After your device is initialized, open Ledger Live and follow the setup instructions to pair the app with your hardware wallet. The app will verify the device’s authenticity, ensuring it’s genuine and secure. Once paired, you’ll be able to add crypto accounts for Bitcoin, Ethereum, and other supported assets.
Inside Ledger Live, you can manage a wide range of assets and tokens. Each supported blockchain requires installing its corresponding app on your Ledger device. Ledger Live will guide you through this process. After installation, you can create accounts, send and receive crypto, and monitor your portfolio performance — all within a single, unified dashboard.
Ledger frequently releases updates that enhance security and add new features. Always keep both your device firmware and Ledger Live app updated to their latest versions. Updates are signed by Ledger and verified before installation to prevent tampering.
If you experience setup issues, connection problems, or device recognition errors, visit the official Ledger Support Center. The support team provides verified troubleshooting guides and community resources to help you resolve issues safely.
Completing setup via Ledger.com/Start gives you full control of your crypto journey. Unlike exchange-based wallets, Ledger ensures that you own your private keys, giving you ultimate financial independence. From portfolio tracking to staking and DeFi access, Ledger Live and your hardware wallet make it easy to manage digital assets securely from one platform.